One of the most popular stitches in embroidery is the woven wheel stitch. It is a versatile and beautiful stitch that can be used to create stunning designs.
In this article, we will discuss what the woven wheel stitch is, how to make it and the many ways it can be used in embroidery.
What is the woven wheel stitch?
The Woven Wheel stitch consists of two components: the spokes and the weaving.
The spokes are fashioned with straight stitches and should have an odd count to allow for unbroken weaving. The best way to describe it is that it will look like a star shape when it is done.
The weaving starts from the center of the star, spiraling outwards. As you weave, you go over and under the spokes in a circular motion until you reach the outer edge.
See my video demonstrating how to do the woven wheel stitch.
If you are having trouble accessing the video below, click here to watch my woven wheel stitch video on Youtube.
Step by step picture guide:
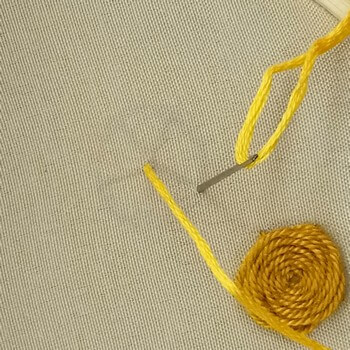
Start by creating the spokes of the wheel:
Draw a circle the size of the flower you want. Make a dot in the middle and draw 5 spokes that are evenly spaced.
Begin by creating the spokes of the wheel using straight stitches. The spokes must always be an odd number. Using 5 spokes is usually best. It will look like a star when you are done.
Let’s do the weaving!
1. Once your spokes are in place, take a blunt tapestry needle or turn your needle around to use the top part (where the thread goes in) and begin weaving in a spiral from the center out. This will prevent the needle from catching on the thread as you work.
2. As you weave, make sure to go over and under each spoke in a consistent pattern. This will create the woven effect.
3. Weave tightly for a more dimensional look or more loosely for a flatter looking flower.
4. Continue weaving around and around until you reach the outside of the stitch.
Different types of thread will result in different results. The DMC wheel were done with 6 strands that were doubled up to make 12. It looks more full and fluffy than it’s neighbor.
The cotton thread wheel were done in a single strand and come out looking more flat and stylized.
TIPS
When doing a project, leave embroidering the woven wheel for last as it is very easy to snag a thread (and spoil your creation) as you work the wheel.
When you run out of thread, push the needle through to the back and end the thread off. Re-thread and start where you left off and continue weaving.
Double up the thread when weaving to create a more dimensional effect. It will make weaving quicker and easier as well.